
Quick Start
The shortest path to your first FoxLeague match. Skip the deeper docs for now; come back later for the full Getting Started walk-through.
1. Connect your wallet
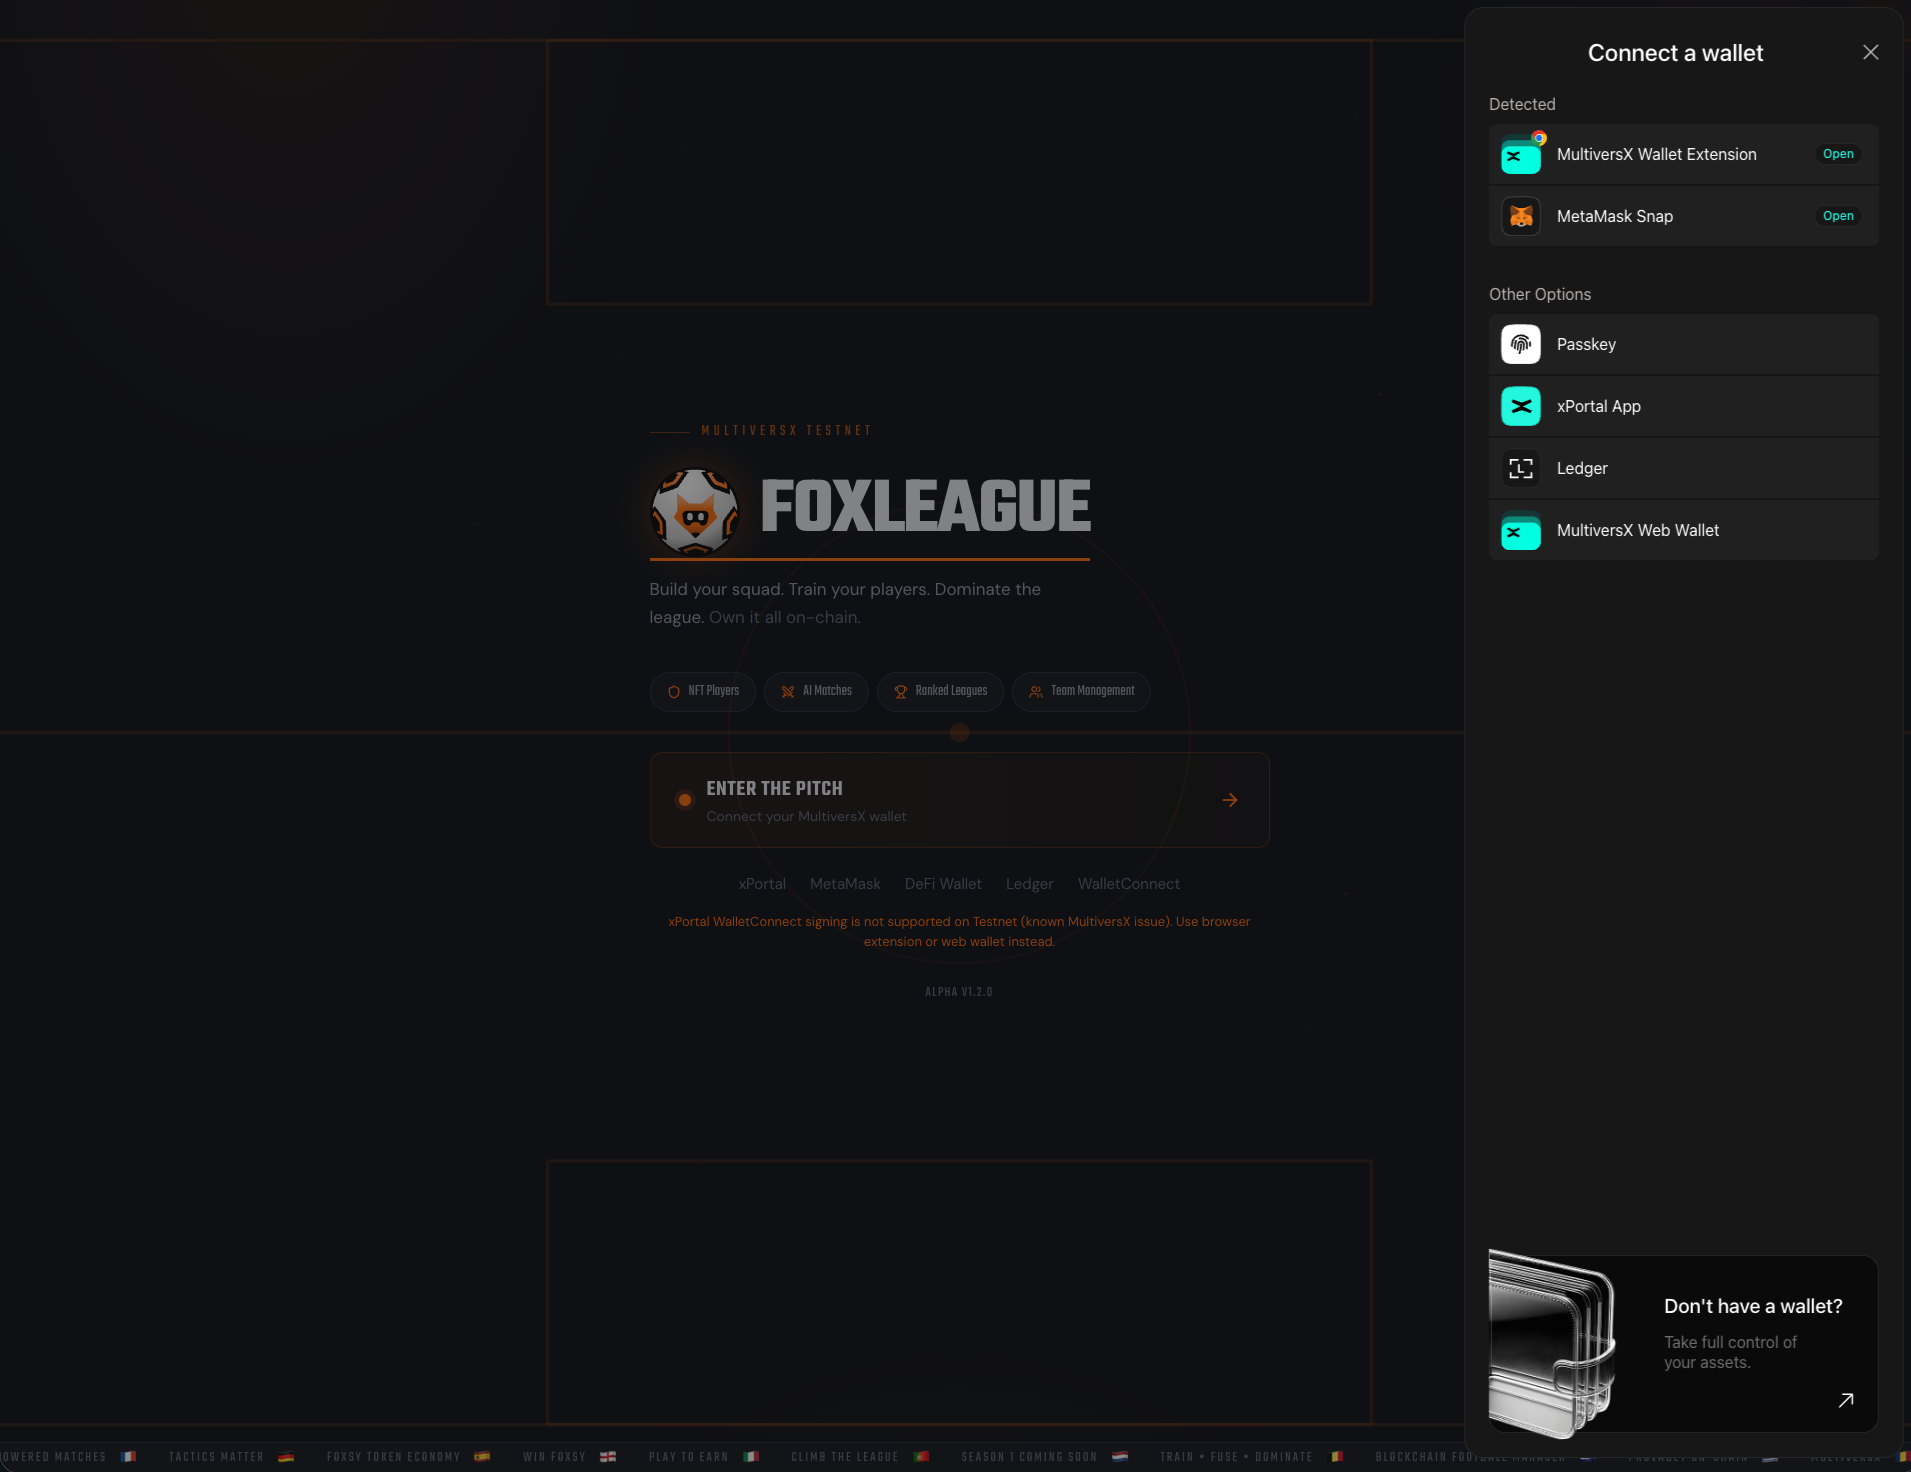
Section titled “1. Connect your wallet”Open foxleague.ai, click ENTER THE PITCH and pick a wallet: xPortal, MetaMask (via MultiversX snap), MultiversX DeFi Wallet, Ledger or WalletConnect. Approve the connection and sign the free verification message.
2. Get 5,000 FOXSY
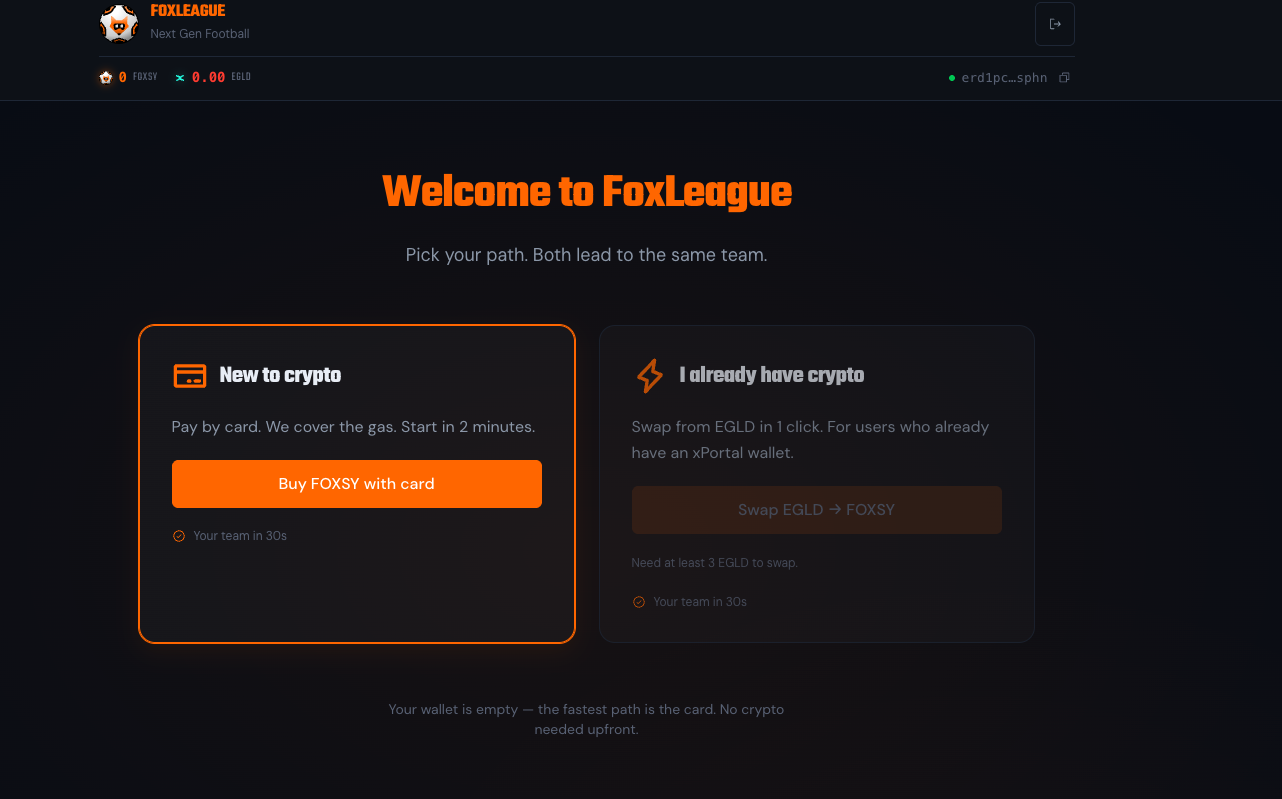
Section titled “2. Get 5,000 FOXSY”The one-time registration costs 5,000 FOXSY. If your wallet already holds it, you go straight to team creation. Otherwise click Get $FOXSY to buy with a card or bank transfer through our on-ramp partner. You can also buy FOXSY on an exchange and send it to your wallet. FoxLeague pays the network fee for the registration itself, so you need no EGLD to start.
3. Name your team and create it
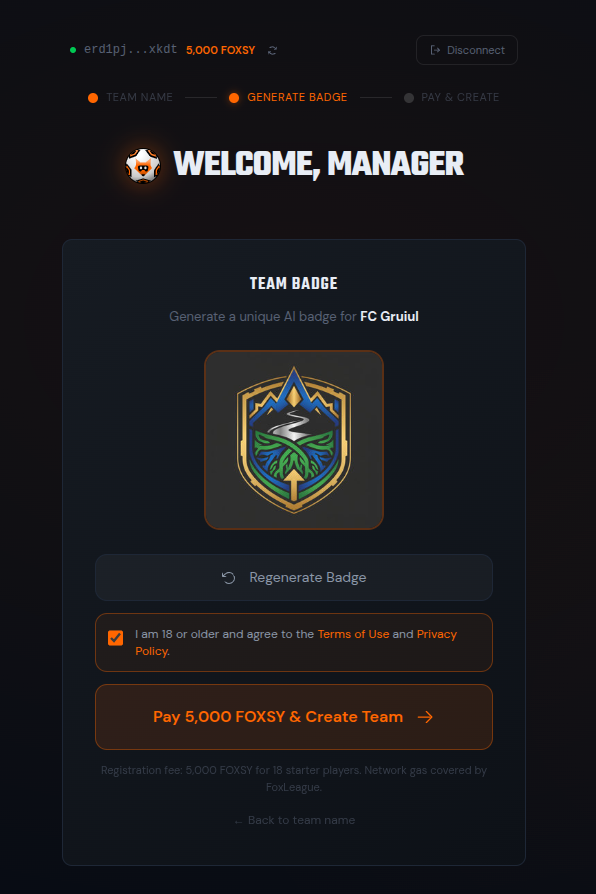
Section titled “3. Name your team and create it”Name your squad, keep or regenerate the AI badge, tick the Terms-of-Use disclaimer and click Pay 5,000 FOXSY & Create Team. Sign the transaction in your wallet. Eighteen player NFTs land in your wallet seconds later.
4. Tactics & Formation
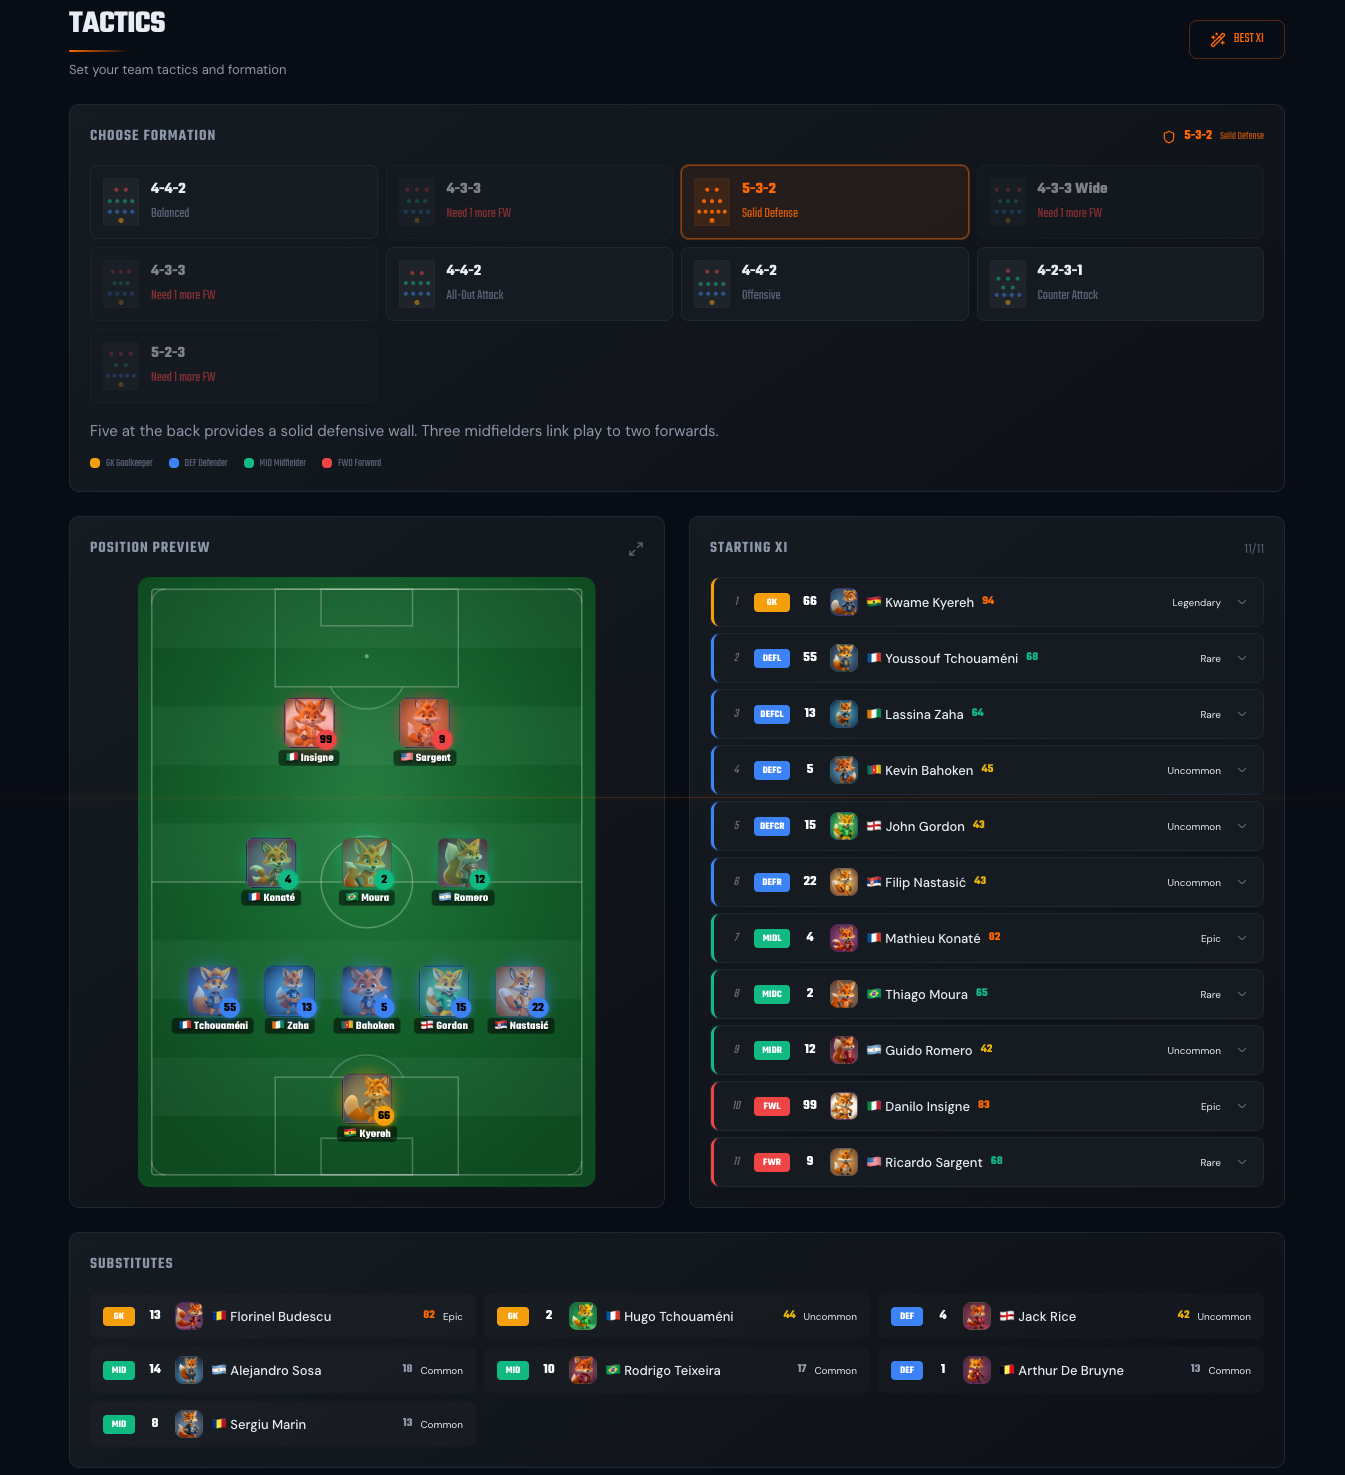
Section titled “4. Tactics & Formation”Open the Tactics tab. Click BEST XI to let the integrated AI auto-fill your starting XI with the strongest fit for each position. Then pick a formation (4-4-2, 4-3-3, 4-2-3-1 and others) plus a play style. Defaults are sensible if you just want to play.
Tactics & Formations → · Full squad guide →
5. Kick off
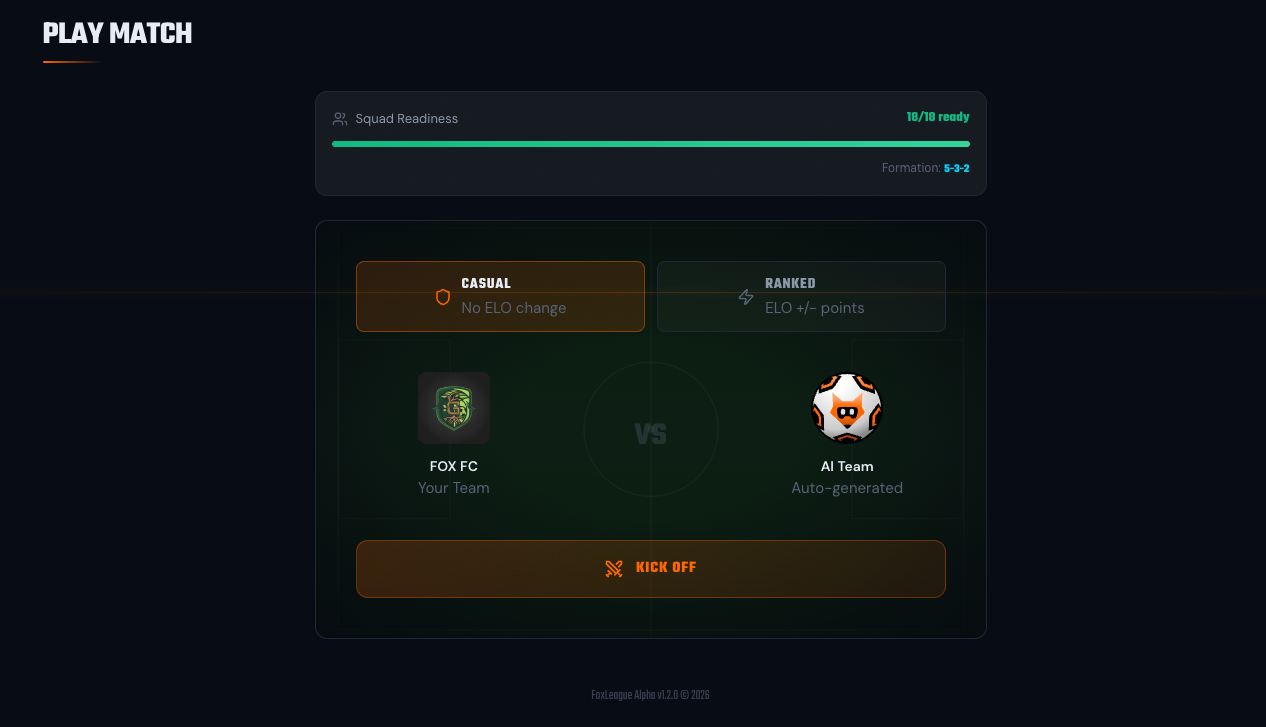
Section titled “5. Kick off”Open the Play Match tab, pick Casual and click KICK OFF.
6. Watch the match
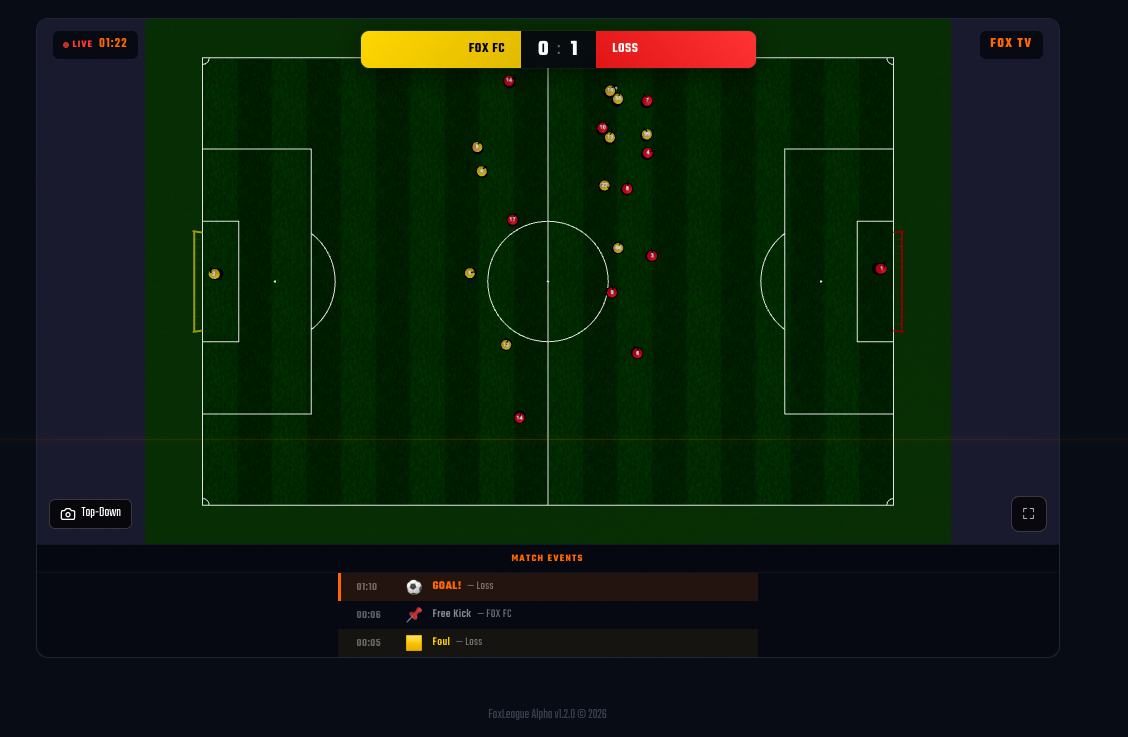
Section titled “6. Watch the match”A full-pitch top-down viewer opens with the live score, a scrolling event feed and the possession bar. Send the match to background if you want to manage the club in parallel; the final score lands in your History as soon as the referee blows the final whistle.
That’s it. You’re a FoxLeague manager.
Want the full picture? Start with Welcome to FoxLeague for the high-level loop, then walk through each Getting Started page in order.